
These are practice prompts, not confirmed map routes or a claim about live spawn logic.
Name the next useful space
Before leaving the current objective, identify one route or piece of cover that gives your team a safe entry to the next fight. Move with a teammate when possible.
Watch the clock and the feed
If the current fight is almost over, decide whether contesting it is still worth the time. A late solo challenge can cost the next setup. Review the actual mode rules and score in game.
Keep one player available to trade
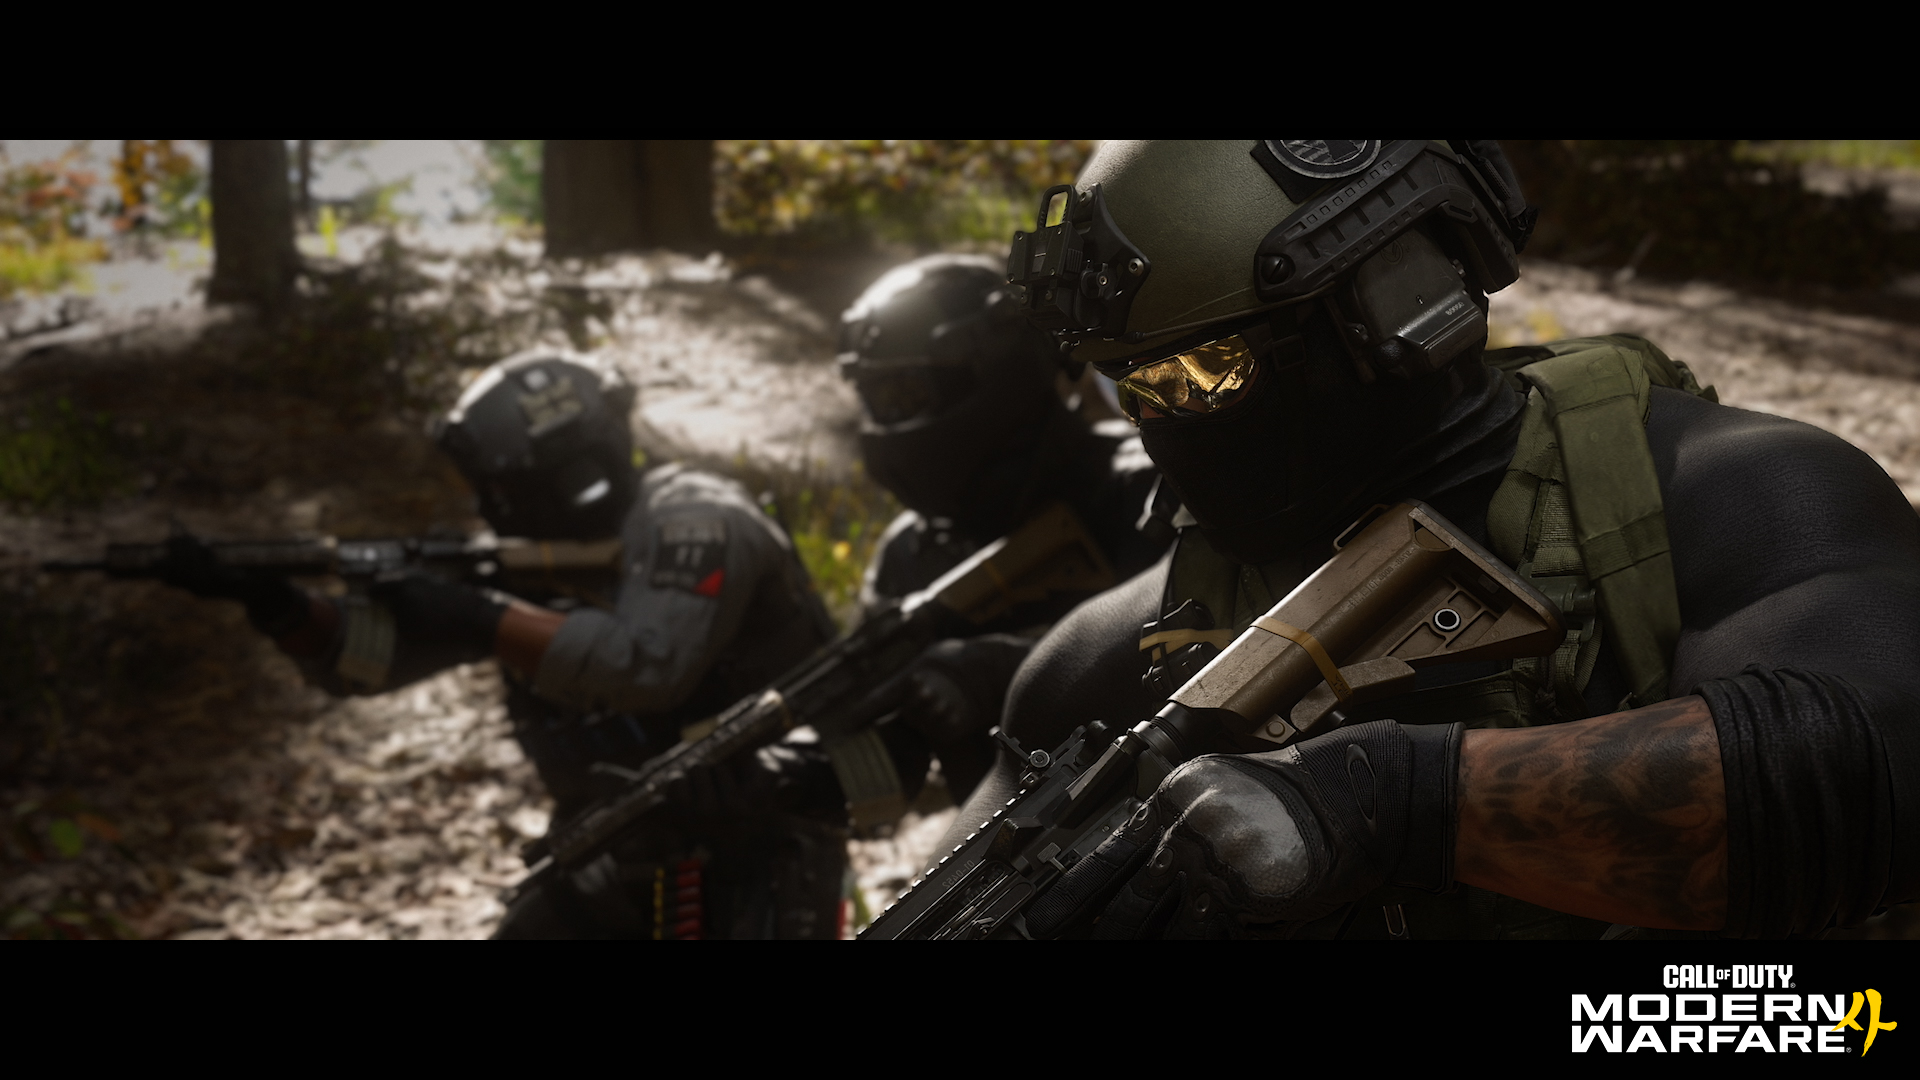
A teammate should be close enough to follow a lost duel without entering the exact same sightline. If both players cross one lane together, a single angle can stop the entire push.
Record the failed rotation
After the match, note the map, mode, where the push stalled, and one alternate route to try. One concrete adjustment is more useful than a vague “play faster” note.
What these guides use
The map and mode names come from Activision. The drills and decisions here are independent coaching suggestions; check them against the live game.